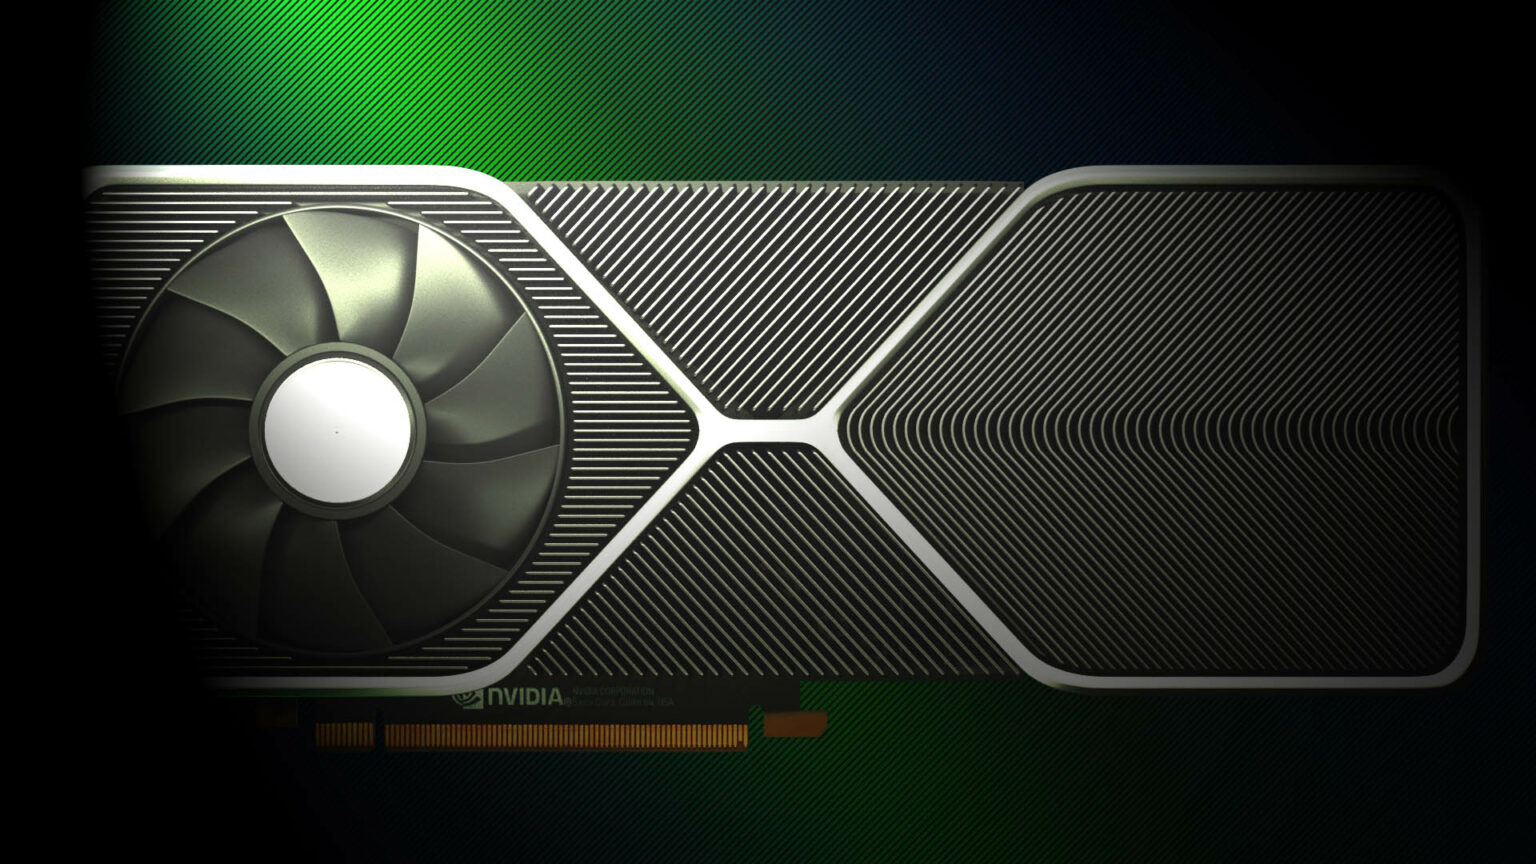
Customization has always been the top quality of PC hardware. One of the main themes in customization is overclocking and undervolting. PC users use these two techniques quite extensively to increase hardware performance or decrease power consumption. Now if you are one of the few people who pre-ordered an RTX 3080 and received one, then it means you’re here to understand how to undervolt the new GPU. This guide covers the process of undervolting the all-new NVIDIA GeForce RTX 3080 in detail.
The RTX 3080 is still a pretty big GPU if you forget about 3090 for a while. Now the GeForce RTX 3080 packs a lot of performance which comes from a complex and yet power-hungry setup. Which makes it fair to give undervolting this card a shot. Not only does undervolting reduce the power draw of the card it can also decrease thermal output in some cases.
Modern GPU monitoring programs make overclocking looks fairly simple. However, for a complete first-timer, it can still look a little bit overwhelming. One thing to understand before we continue any further is that Overclocking sometimes makes cards go completely unstable in such cases it is good to jump back to the device defaults. Here is how you can underclock your RTX 3090 right now, the process is similar for turning cards too but the actual voltages and frequencies might vary.
For the process, we will use a famous GPU tool called MSI Afterburner. It is fairly simple to use. We will try to experiment with different voltages and frequencies to try to bring down the high 320w TGP of this card. You can download the latest version of MSI Afterburner for here. Once installed were all set for undervolting, follow along with the information and images in each step.
Undervolting the RTX 3080:
Throughout the process, we will mostly use the Frequency/Voltage Curve Editor in MSI Afterburner. Once you open the program pres Ctrl+ F which will open up the fan curve editor.

Once the curve opens up the next step is decreasing the core clock. A good spot for starting out is -290MHZ. The lower clock at the start of the curve will during the curve well within the voltage threshold. It will also ensure that your GPU does not use higher voltages for insignificant performance gains.

With a baseline established we now need to drag a few points in the Frequency/Voltage curve. You will have to grab a few target voltage pints to their respective target frequency. Here you can grab the little dot above the 950mV setting and slide it right up to the 1900MHz target Frequency. Make sure to hit Apply to save the change you just made.

Once the dot is in place and you hit apply. The whole curve will change to maintain the continuous nature of the card. Each value will show the frequency and voltage targets set for the card. This will decrease the voltage used to reach each frequency limit as well as the power draw of the card by some amount.
Once the custom curve is in place you will now have to test each and every application and hunt for instabilities. There is no hard and fast rule for these things for everyone and you will have to increase or decrease this value with some testing. You can run synthetic benchmarks and some demanding games to determine how the card behaves under load.
According to a few online quoted values, the founder’s edition of the card works fairly well with a target frequency of 1890MHz at 862mV without any significant hit on performance. If you still want to experiment even further you can try lower that to 1815MHz at 806mV.
Make sure to keep testing stability as you go and make each change to system settings. Underclocking is extremely useful if you want some headroom for your power supply or cooling design. Since it has no effect on the performance you can easily make the system more efficient.


