

The Nintendo Switch‘s enduring popularity stems from its ability to function as both a home console and a portable gaming system. If you plan to buy the console as a present for a special occasion like a birthday or Christmas, it’s crucial to help your loved one through the setup process.
This process involves configuring the system, performing necessary software updates, and ensuring security measures are in place. By familiarizing yourself with the intricacies of the setup process, you can help the recipient enjoy their new console with minimal hassle.
Setting up a Nintendo Switch is necessary to ensure the console is ready for gaming. The setup involves several essential steps, such as configuring the console’s language and time zone, connecting to the Internet, and creating a user account.
Users can download and play games or access other console features, such as the Nintendo eShop, online multiplayer, or cloud saves, by completing these steps. Additionally, setting up the console allows users to customize their gaming experience and ensure that its security settings are properly configured to protect their personal information.
Setting up a Nintendo Switch is relatively simple, and you can follow these steps to do it:
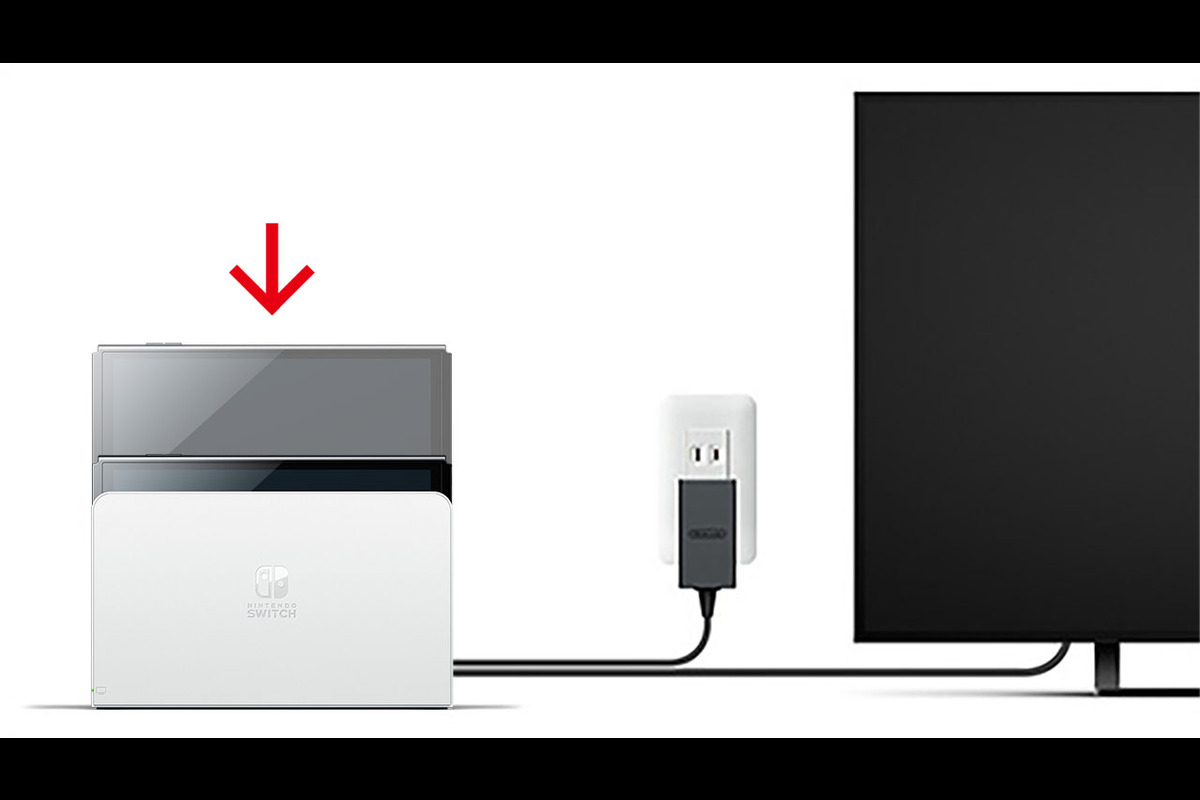
- Connect the Switch to a power source: First, connect the included AC adapter to the bottom of the Nintendo Switch dock, then plug the adapter into a power outlet.
- Connect the Switch to your TV: Connect the dock to your TV using an HDMI cable.
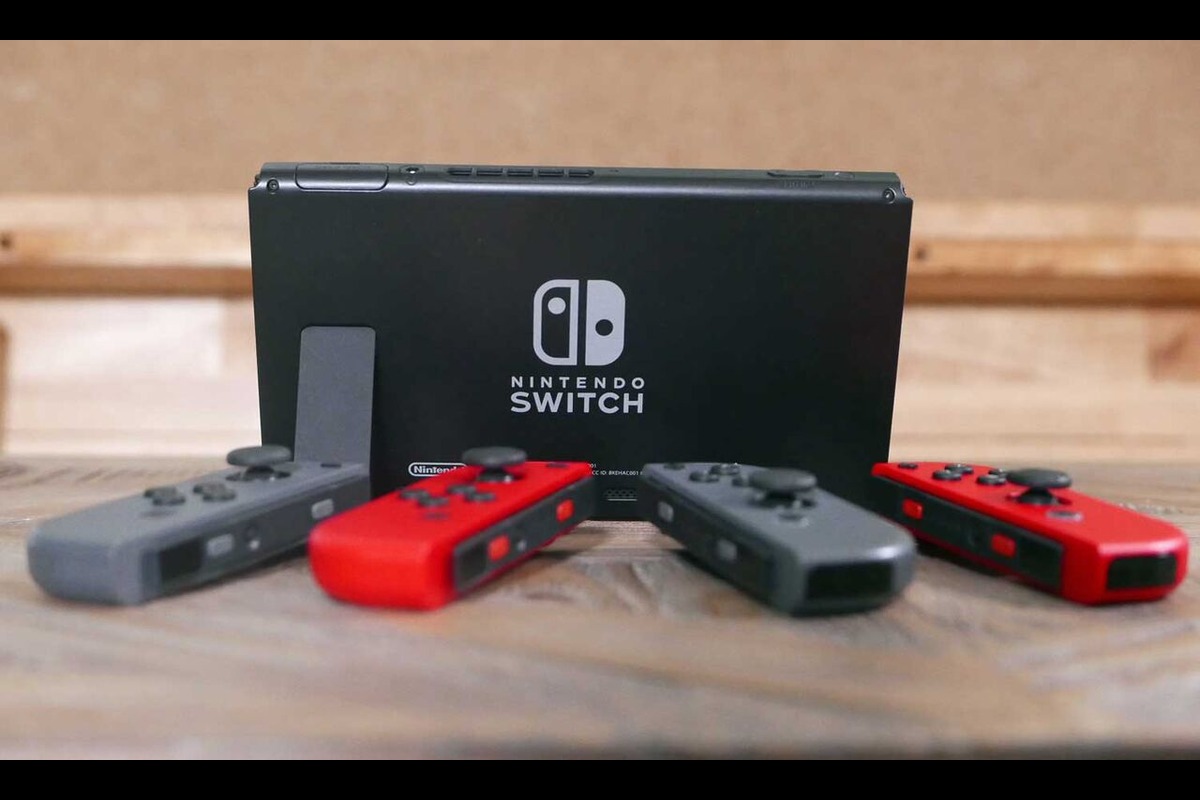
- Insert the Joy-Con controllers: Attach the Joy-Con controllers to the sides of the Switch or the Joy-Con grip if you have one.
- Please turn on the Switch: Press the power button at the top to turn it on. You should see the Nintendo logo on the screen.
- Choose your language: Use the on-screen prompts to choose your preferred language and country.
- Set up your Internet connection: Choose your Wi-Fi network and enter your password to connect your Switch to the Internet.
- Set up your Nintendo account: If you already have a Nintendo account, you can sign in to it. If you still need to, you can create a new account.
- Create a user profile: You can create a user profile for yourself or another user.
- Update the system software: Your Switch may need to update its software to the latest version. If prompted, follow the on-screen instructions to update the software.
After completing these steps, your Nintendo Switch should be set up and ready to use.
Nintendo Switch Lite
The setup process for a Nintendo Switch Lite is similar to that of a regular Nintendo Switch or Switch OLED console, but there are some differences to keep in mind. Also, it cannot be connected to a TV; the setup must be completed entirely in handheld mode. You cannot detach the Joy-Cons from the console as you would with a regular Switch. Despite these differences, the setup process for a Nintendo Switch Lite is straightforward to follow.
Nintendo Switch OLED model
Setting up a Nintendo Switch OLED model involves connecting the console to a TV using the dock and HDMI cable, plugging in the AC adapter to power the dock, and sliding the console into the port. Once the console is connected to the TV and powered on, users can follow the on-screen prompts to select their language and region, connect to the Internet, create or sign in to their Nintendo account, and personalize their profile by choosing a nickname and user icon.
Users must also set up their controllers, which can be either Joy-Cons attached to the sides of the console or a Pro Controller synced with the console. Finally, users should check for system software updates and download them if necessary to ensure their console has the latest features and security updates.
Once the setup process is complete, users can enjoy their Nintendo Switch OLED model by playing games, browsing the eShop, and taking advantage of all the console’s features.