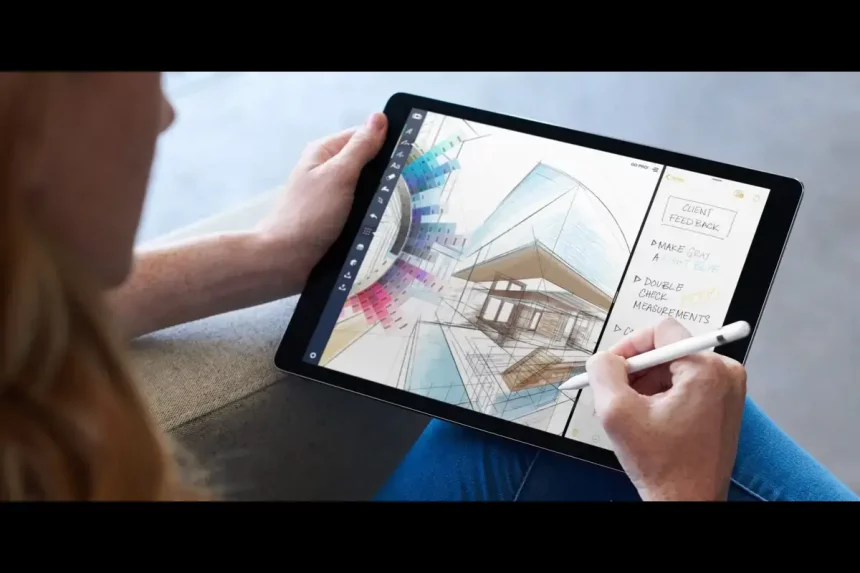
The split screen feature on an iPad can be helpful for users who need to juggle multiple tasks simultaneously. However, it can hinder when activated accidentally or when not required. If you’re facing a split screen issue on your iPad and wish to remove it, you’re at the right place.
This article will provide a comprehensive guide on how to Get Rid of Split Screen on iPad. Nevertheless, it’s crucial to remember that the split screen feature is exclusive to specific iPad models, including the iPad Pro, iPad Air 2 or later versions, and the iPad mini four or newer models. Unfortunately, if you own an older version of the iPad, you won’t have access to this feature at all.
Step 1: Check if your iPad is in Split View
To start removing the split screen feature on your iPad, you must first confirm if your iPad is currently in Split View mode. This can be done by swiping up from the bottom of your screen to access the Dock. If you see two applications opened side-by-side, your iPad is in Split View mode. If not, you’re not in Split View mode and can skip Step 3.
Step 2: Exit Split View
If you’ve confirmed that you’re in Split View mode, the next step is to exit it. There are two ways to do this:
- To exit Split View mode on your iPad, you can swipe the app divider towards your screen’s left or right edge. The app divider is the vertical line that separates the two applications on your screen. By swiping it toward the edge of your screen, you can effectively exit Split View mode.
- Another method to eliminate the split screen on your iPad is to use the app switcher. First, swipe up from the bottom of your screen to open the Dock, then swipe up again to launch the app switcher. Look for the application you want to remove from Split View, and then swipe up on the app preview to close it. This will effectively exit Split View mode on your iPad.
Step 3: Turn off Split View
You can completely disable the Split View feature on your iPad by accessing the settings and turning off the option. Here’s how:
- Open the Settings app on your iPad.
- Tap on “General” in the left-hand menu.
- Scroll down and tap on “Multitasking & Dock.”
- Toggle off “Allow Multiple Apps.”
Disabling the Split View feature on your iPad will prevent you from using it. However, you can still utilize the Slide Over feature, which allows you to open a second app in a small window on top of the first app.
Step 4: Turn off Slide Over
To turn off the Slide Over feature on your iPad, you can disable it through the settings. Here’s how:
- Open the Settings app on your iPad.
- Tap on “General” in the left-hand menu.
- Scroll down and tap on “Multitasking & Dock.”
- Toggle off “Allow Multiple Apps” and “Allow Multiple Windows.”
This will disable both Split View and Slide Over on your iPad.
Step 5: Restart your iPad
If you have completed the steps mentioned earlier, but the split screen persists on your iPad, restarting your device may help. Restarting your iPad can often resolve minor software glitches and issues. Here’s how you can restart your iPad:
- Press the power button until the “Slide to power off” slider appears.
- Slide the slider to the right to turn off your iPad.
- Wait for a few seconds and then press and hold the power button again until the Apple logo appears.
- Release the power button, and your iPad will restart.
Step 6: Reset your iPad
If the methods mentioned above fail to eliminate the split screen on your iPad, you may have to reset it to its original factory settings. This process will remove all your data and settings, so creating a backup of your important data is crucial before proceeding. Follow these steps to reset your iPad to its factory settings:
- Open the Settings app on your iPad.
- Select “General” in the left-hand menu.
- Scroll down and tap on “Reset.”
- Choose “Erase All Content and Settings.”
- Enter your passcode or Apple ID password if requested.
- Confirm that you want to erase your iPad by selecting “Erase Now.”
- Wait for your iPad to erase and reset to its factory settings.
Once your iPad has been reset to its factory settings, you must set it up as if it were a new device. This includes completing the initial setup process, choosing your preferred language and region, connecting to a Wi-Fi network, and signing in with your Apple ID.


